The content of this page has not been vetted since shifting away from MediaWiki. If you’d like to help, check out the how to help guide!
Manual View Arrangement
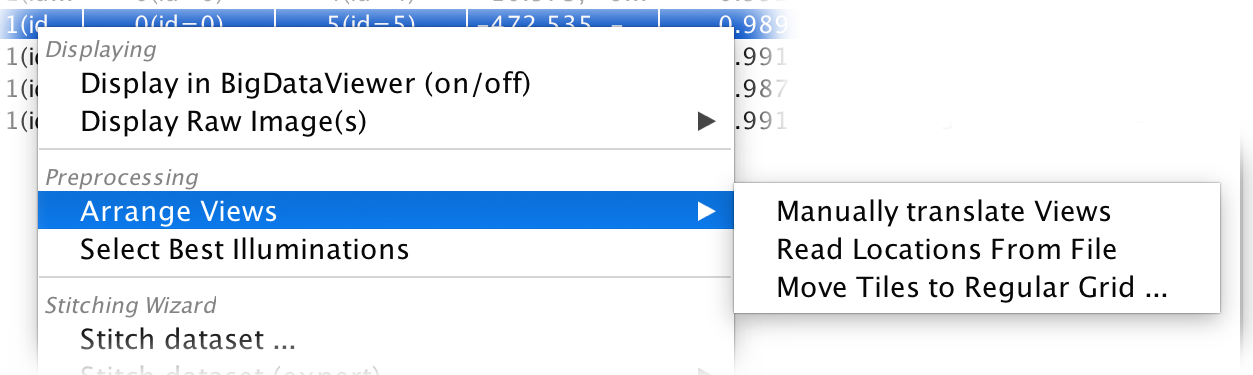
In the right-click menu you can find various functions for manually arranging the views in your dataset under Preprocessing › Arrange Views.
Manually translate views
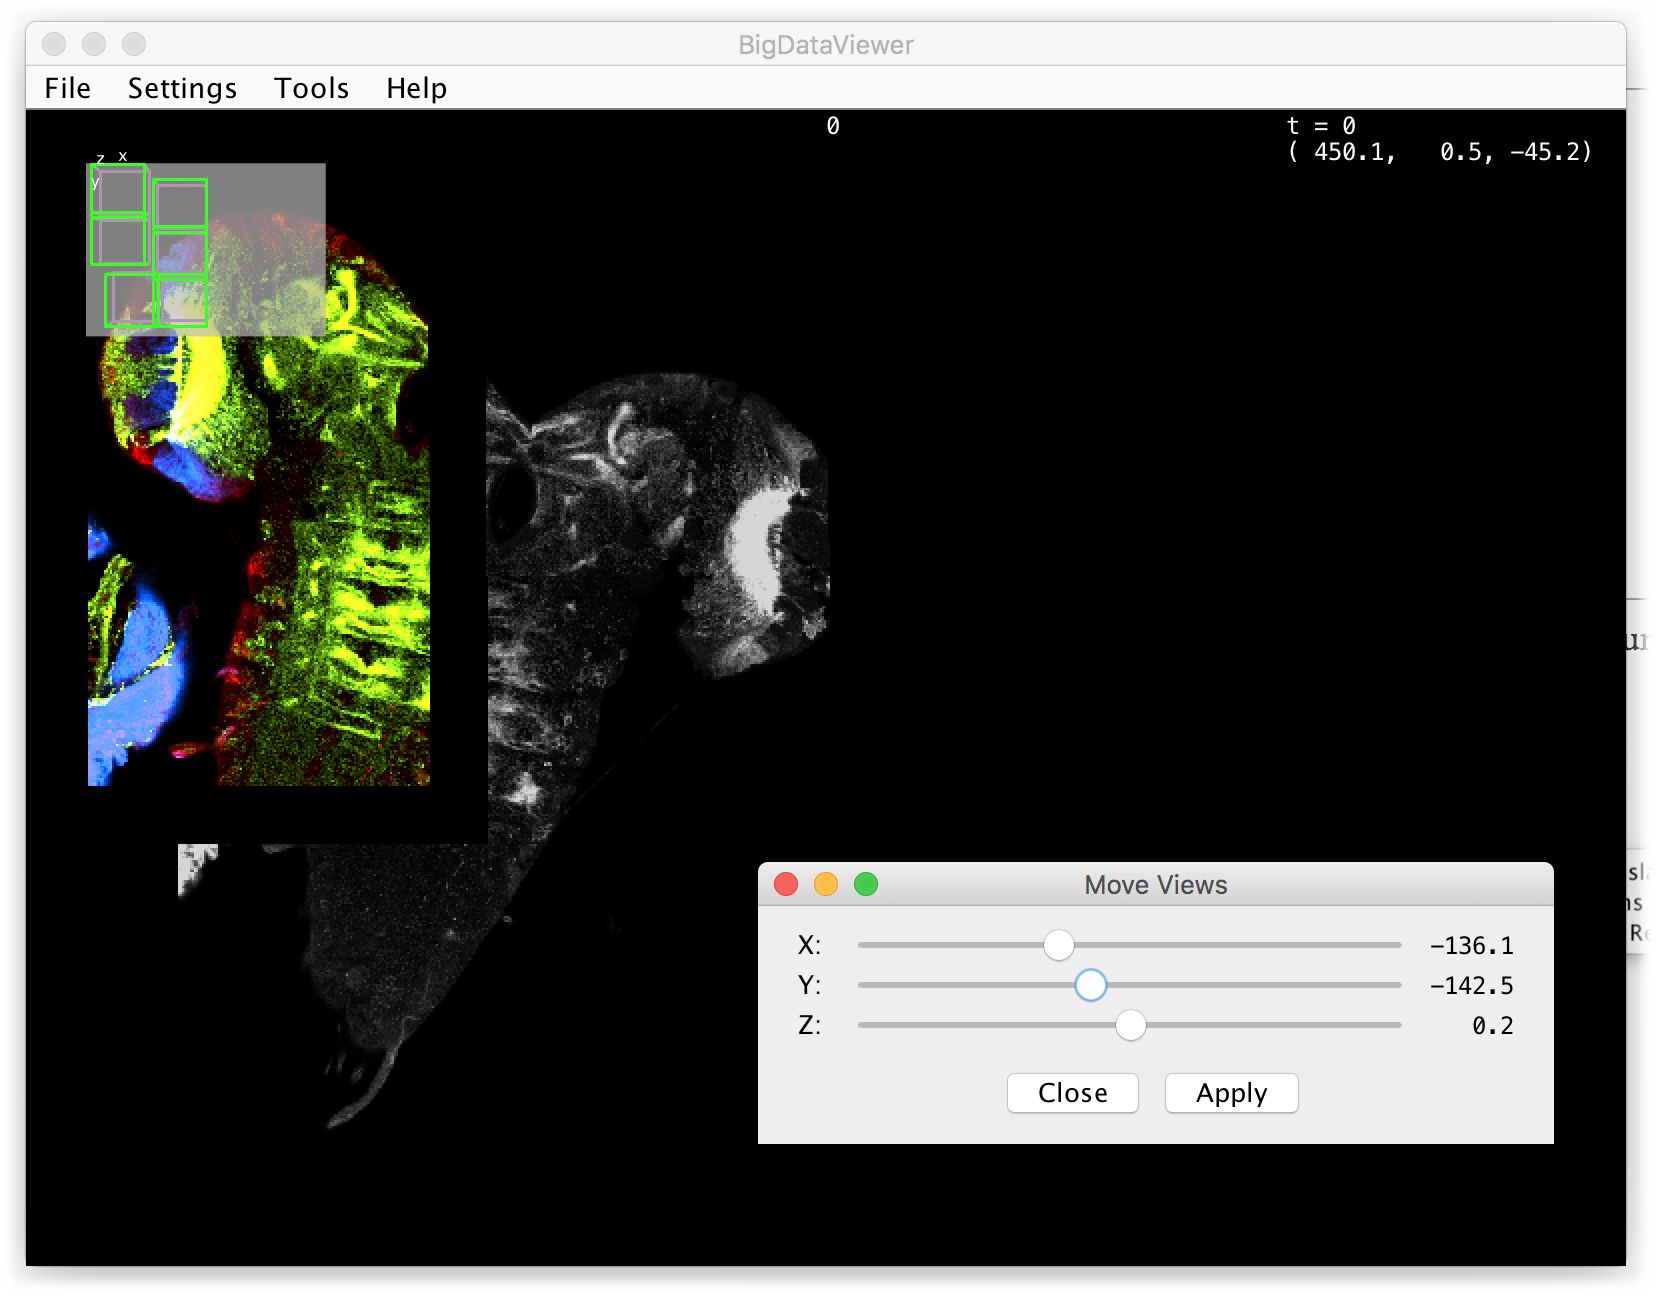
Clicking Manually translate Views will bring up a new window that allows you to manually move the selected views along the x-, y- or z-axis using three sliders.
- If the BigDataViewer is open, the result of your translation will be previewed in real time (the views surrounding the views that you are moving will be displayed in gray).
- You can select other views via the BigStitcher main window - if you have moved the currently selected views, you will be asked to discard or apply the current transformation.
- Clicking Close will close the transformation window - if you have moved the currently selected views, you will be asked to discard or apply the current transformation.
- Clicking Apply will apply the current translation and leave the transformation window open for further movement of views
The range of movement is limited, if you wish to move views by a large amount, you have to repeatedly apply a translation
Read Locations From File
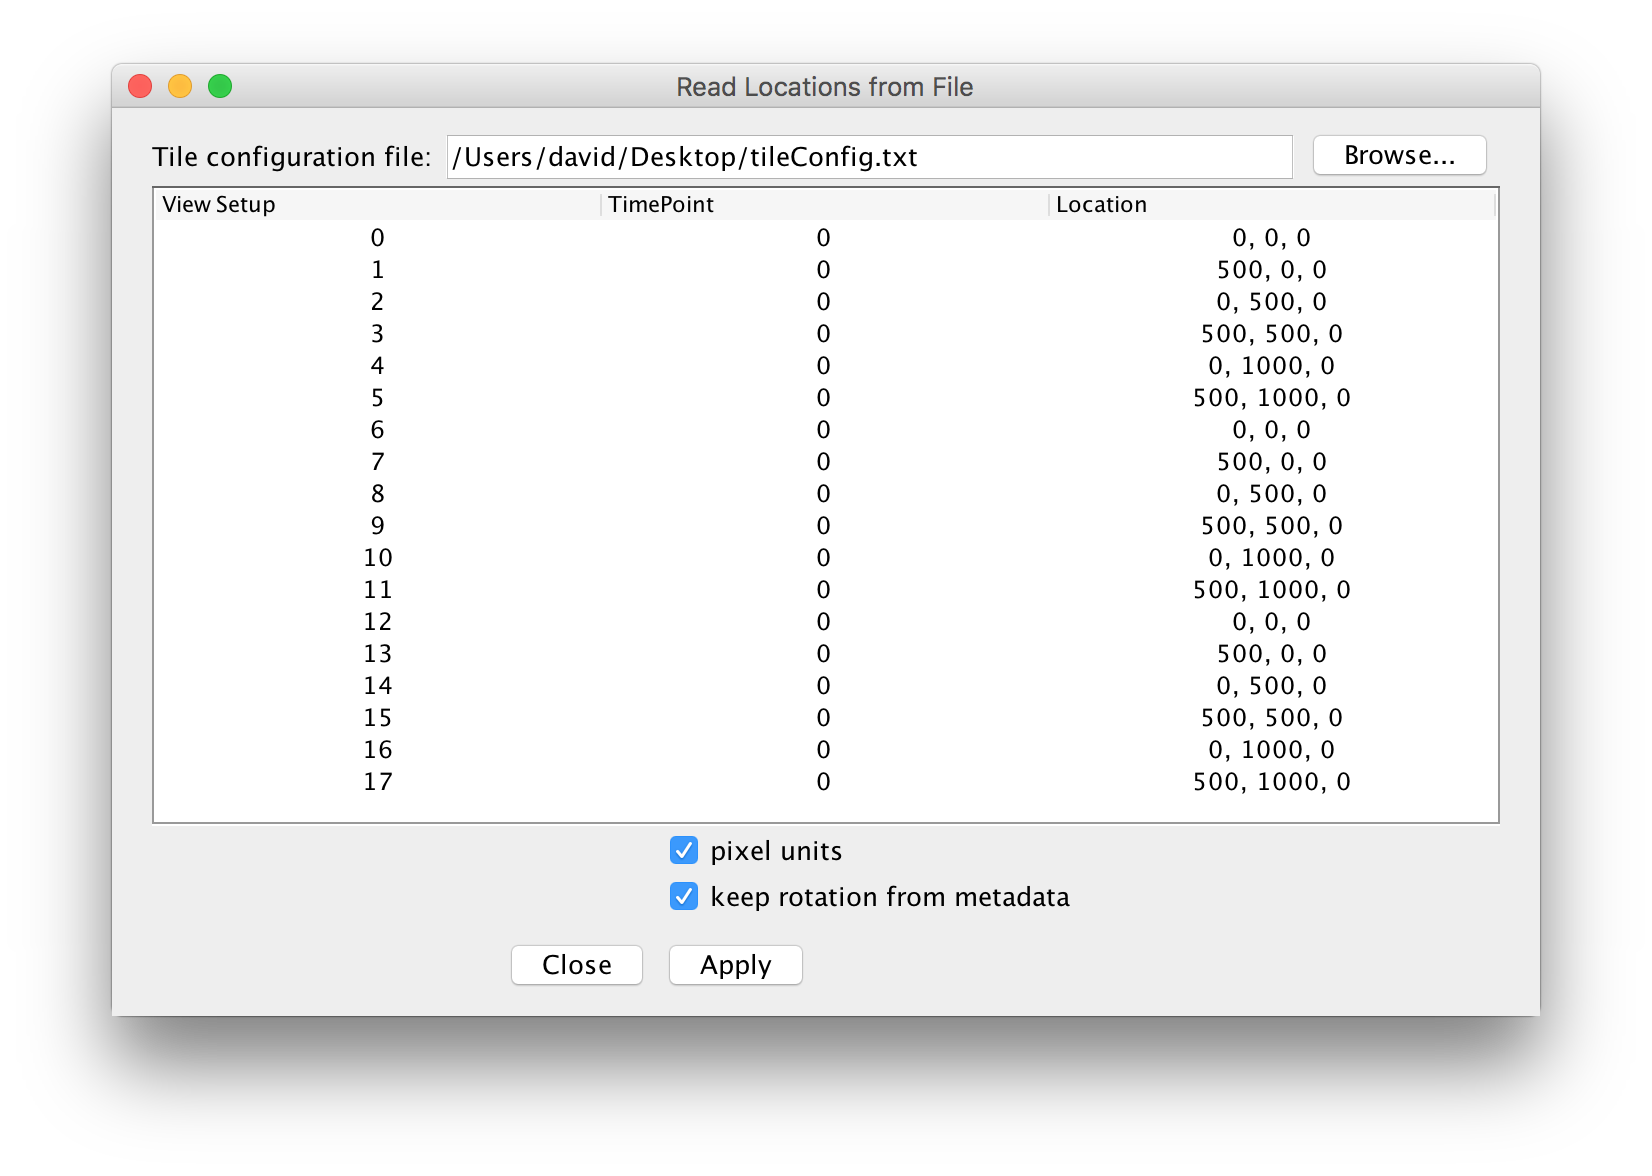
Clicking Read Locations From File will bring up a new window that allows you to load view locations saved in a tile configuration file.
- To load a tile configuration file you can drag and drop a file to the Tile configuration file field at the top of the window, type the path manually or click Browse… to search for the file.
- If the file could be read successfully, the locations specified in it will be displayed in the table in the middle of the window.
- If the BigDataViewer is open, the effects of applying the tile configuration will be previewed immediately
- Ticking pixel units will interpret the locations in the files as locations in pixels (to be exact, as pixels along the axis with the smallest pixels). Otherwise, locations will be interpreted in the pixel size unit from metadata (e.g. microns).
- Ticking keep rotation from metadata will rotate views according to their Angle after moving them to the specified locations.
Clicking Apply will overwrite the transformations stored in your dataset (except for the pixel calibration, the translation from the tile configuration and, optionally, a rotation)
Tile Configuration file format
Tile configurations are just plain text files that adhere to a simple format:
- The file has to contain a header line specifying the number of dimensions in the form: dim=3
- The locations if Views are specified by lines of the following form (the position has to have the same dimensionality specified in the header): ViewSetupID;TimePointID;(position_x, position_y, … )
- The time point ID can be left blank - in that case, the transformation for the view will be used at all time points: ViewSetupID;;(position_x, position_y, … )
- Lines starting with # (comments) are ignored: # this is a comment.
Move Tiles To Regular Grid …
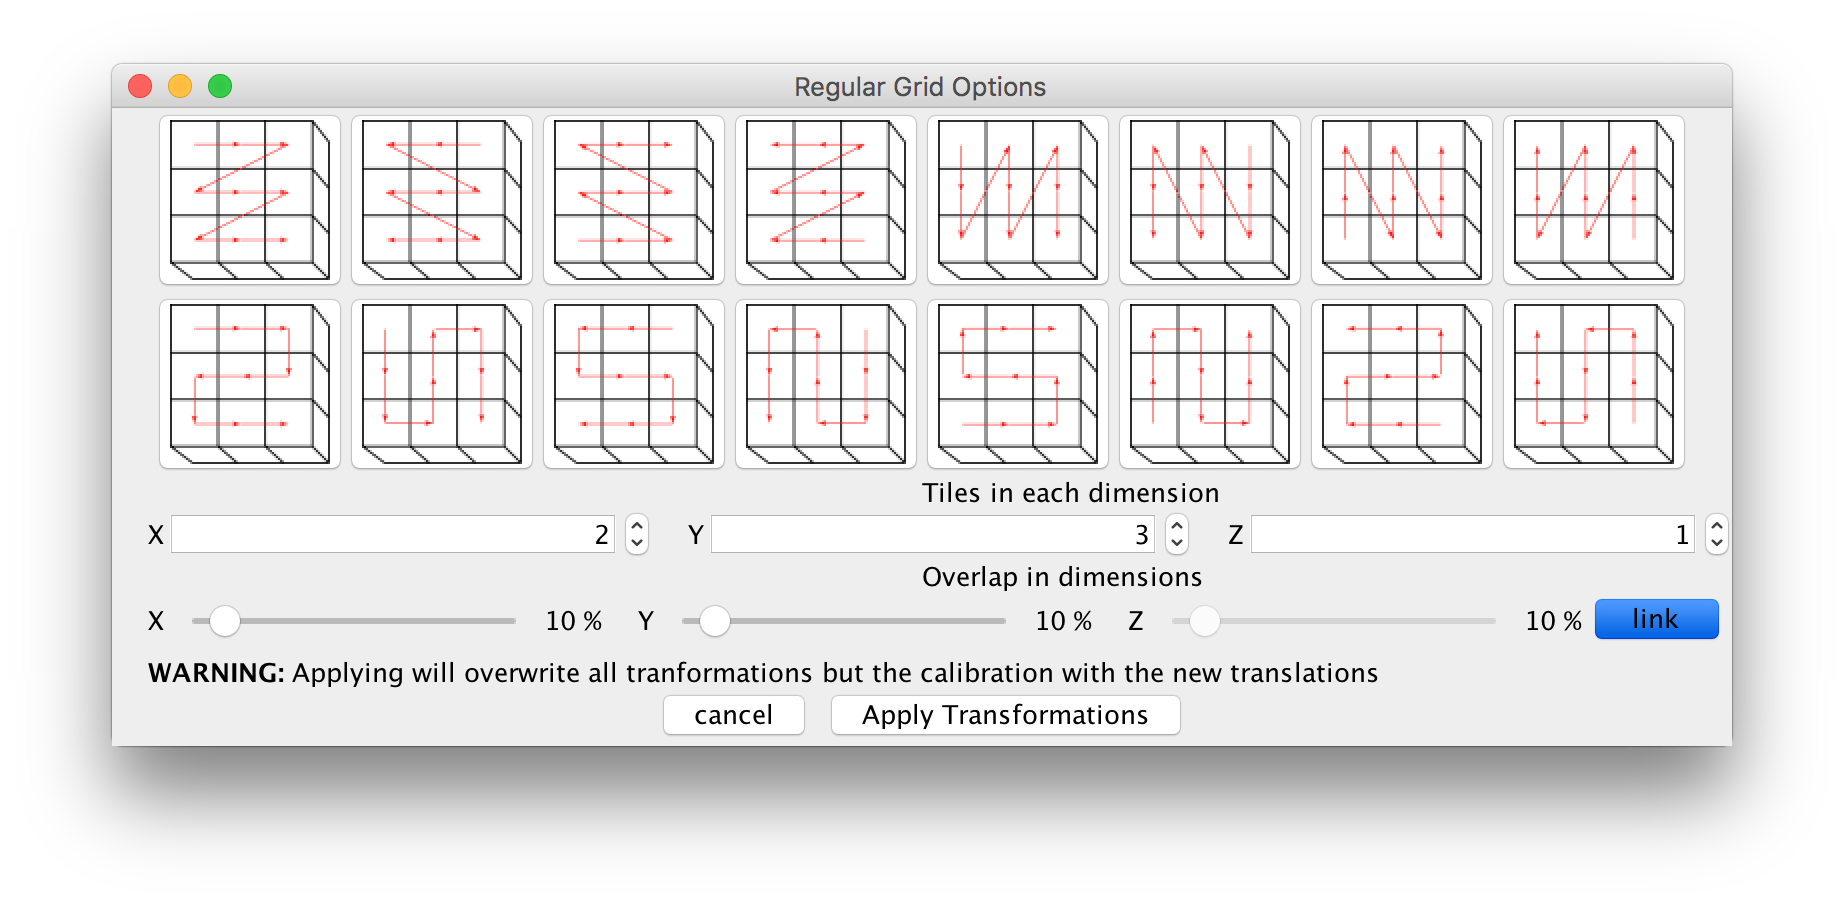
Clicking Move Tiles To Regular Grid … will bring up a new window that allows you to move the selected views into a regular grid. If the BigDataViewer is open, every change you make in this window will be previewed in real time.
- At the top of the Regular Grid Options window, there are several buttons corresponding to different arrangements of the views (e.g. row-by-row, snake row-by-row, …). Clicking one of these buttons will move the selected views into the corresponding pattern.
- Below, you can specify the dimensions of the grid (tiles per row, column, …). Note that if you specify more than one layer in z, the pattern selected above will be repeated in every layer.
- With the overlap sliders, you can specify by how much your views overlap in each dimension. By default, changing one slider will also change the others. To specify different overlaps for each dimension, unclick the ‘link’ button.
- At the bottom, there are buttons to cancel the grid arrangement process or Apply Transformation. If your dataset contains multiple timepoints, you will be asked whether you want to apply the transformation to all timepoints or just the currently selected one.
Clicking Apply will overwrite the transformations stored in your dataset (except for the pixel calibration, the translation from the tile configuration and, optionally, a rotation)
Go back to the main page