Introduction
This third article in the series dedicated to extending TrackMate deals with spot feature analyzer. This is the last of the three kind of feature analyzers you can create, and it focuses on spots, or detections.
Spot features are typically calculated from the spot location and the image data. For instance, there is a spot feature that reports the mean intensity within the spot radius. You need to have the spot location, its radius and the image data to compute it.
In this tutorial, we will generate an analyzer that is not directly calculated from the image data. This will enable us to skip over introducing ImgLib2 API, which would have considerably augmented the length of this series. But this choice does not only aim at nurturing my laziness: We will make our feature depend on other features which will allow us to introduce analyzers priority.
But before this, let’s visit the spot feature analyzers specificities.
Spot analyzers and spot analyzer factories
In the two previous articles we dealt with edge and track analyzers. We could make them in a single class, and this class embedded both the code for
- TrackMate integration (feature names, dimensions, declaration, etc…);
- and actual feature calculation.
For spot analyzer, the two are separated.
You must first create a SpotAnalyzerFactory. This factory will be in charge of the TrackMate integration. The interface extends both the TrackMateModule and the FeatureAnalyzer interfaces. It is the class you will need to annotate with a SciJava annotation for automatic discovery.
But it is also in charge of instantiating SpotAnalyzers. As you can see, this interface just extends ImgLib2 Algorithm, so all parameters will have to be passed in the constructor, which can be what you want thanks to the factory. We do not need a return value method, because results are stored directly inside the spot objects. But we will see this later.
Let’s get started with our example.
The spot analyzer factory
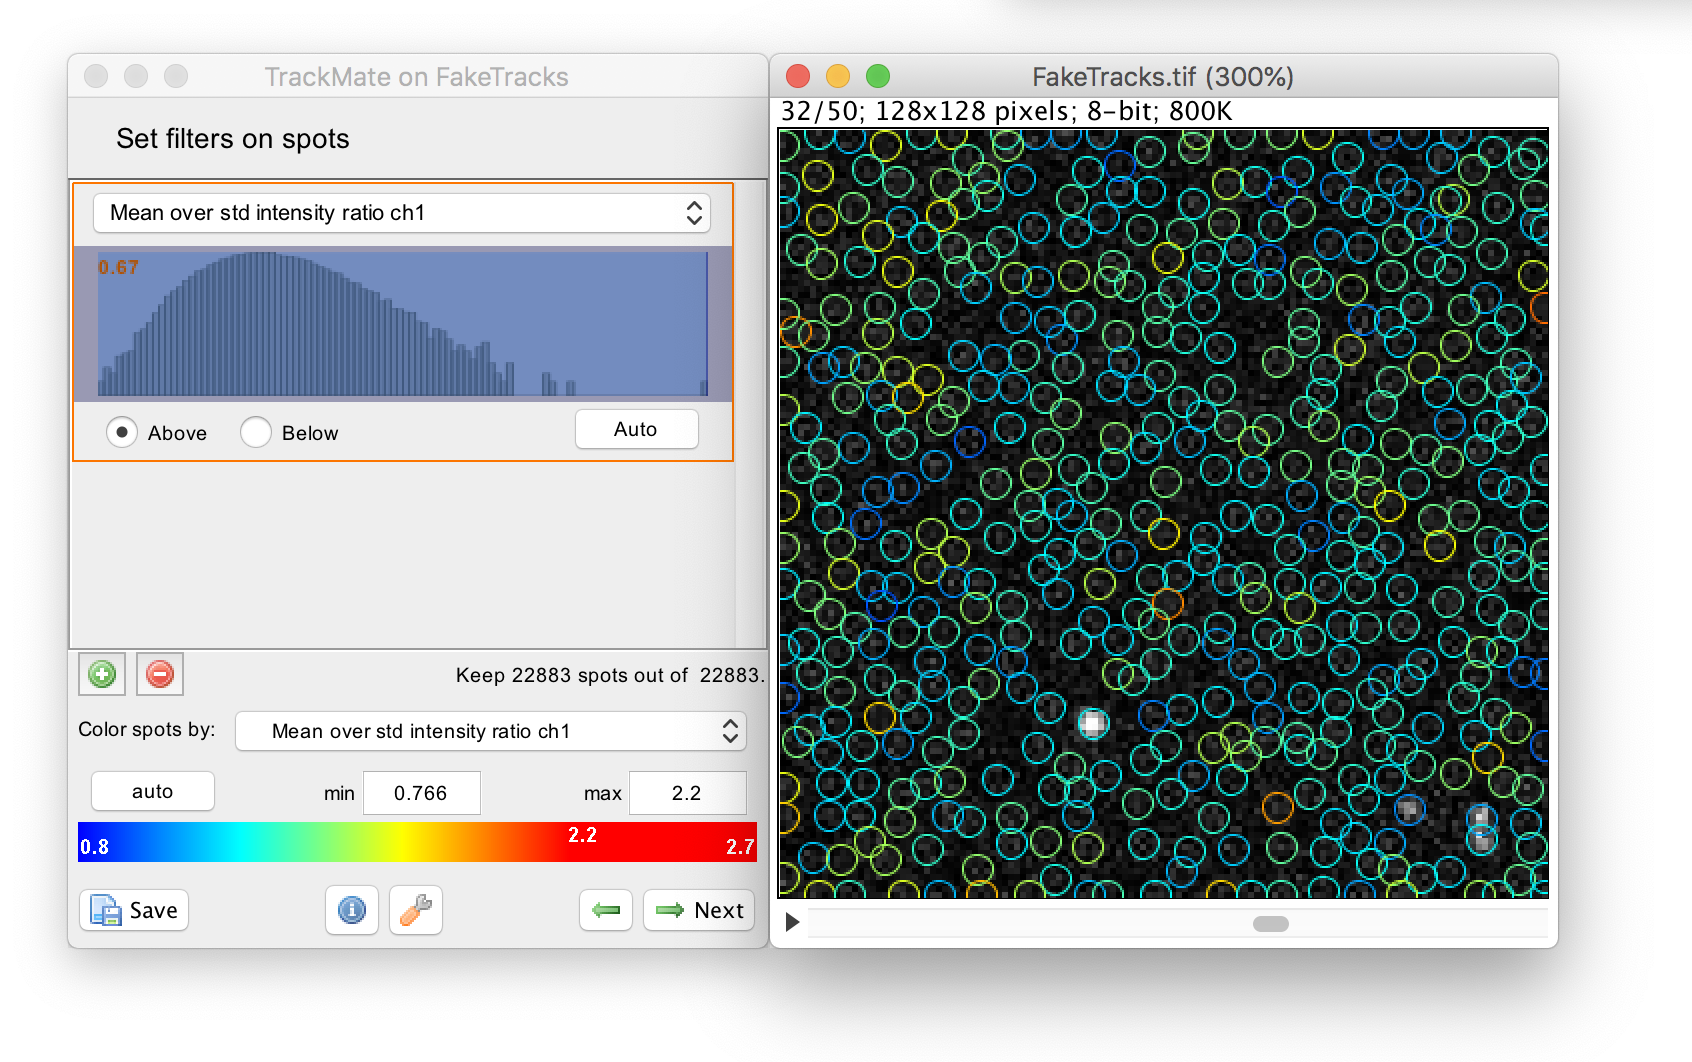
We want to generate an analyzer that will compute for each spot, the ratio of its mean intensity to the std intensity. So you get for this feature a value of 1 if its std intensity is equal to the mean, etc… We could have our analyzer actually compute the pixel intensity for each spot, take the mean and std. But, there is an analyzer that already computes the spot intensity and we can re-use it. Check the SpotIntensityMultiCAnalyzerFactory.
It is a good idea to reuse this value in our computations, both for the quickness of development and runtime performance. But if we do so, we must ensure that the feature we depend on is available when our new analyzer runs. There is a way to do that, thanks to the notion of priority, which we will deal with later.
Right now, let’s focus on the factory class itself. There is not much to say: its content resembles all the feature analyzers we saw so far. So I am going to skip over the details and point you to the full source code here.
The one interesting part is the factory method in charge of instantiating the SpotAnalyzer:
	@Override
	public SpotAnalyzer< T > getAnalyzer( final ImgPlus< T > img, final int frame, final int channel )
	{
		// Don't make an analyzer for other channels than the first.
		if ( channel != 0 )
			return SpotAnalyzer.dummyAnalyzer();

		return new MeanStdIntensityRatioSpotAnalyzer<>();
	}
Here are some important informations about this method. As stated in the javadoc:
This method will be called once per time-point and per channel of the source image. If a feature is defined independently of channels, implementation must care to skip generating several identical features when called on several channels.
This also means that the feature computation will be resliced frame by frame and channel by channel. But the first parameter of this method is the 5D source image. It is the reponsibility of the implementing analyzers to reslice this image to yield only the channel and frame of interest.
Since we want to build a feature that does not need the image data, the constructor just skips the image reference. And because we are lazy, we will compute the feature only for the first channel, so we return a dummy analyzer that does nothing for all channels that are not the first one (with index 0).
And that’s it. We must now move on to the analyzer itself to implement the feature calculation logic.
The spot analyzer
As you noted in the above method, each analyzer is meant to operate only on one frame. This permits multithreading: The factory will be asked to generate as many analyzer as there is threads available, and they will run concurrently. And we, as we build our analyzer - do not have to worry about concurrent issues.
A little word about the expected execution context: The TrackMate GUI operates in steps, as you have noted. First the detection step generates spots, then they are filtered, then they are tracked, etc… Therefore, when I said earlier that the whole model is available for calculation, this is not entirely true. When using the GUI, spot numerical features are used to filter spots after they have been detected. So that this stage, there is no tracks yet. There is not even filtered spots. A spot feature cannot depend on these objects, and this is a built-in limitation of TrackMate. So be cautious on what your numerical feature depends.
The SpotAnalyzer interface is pretty naked:
public void process( final Iterable< Spot > spots );
The method receives an iterable over the spots which features are to be computed. This iterable is prepared elsewhere in TrackMate, containing the spots to be updated for a single time-point as expected. It is not necessarily all the spots in the time-point. The same method is used to update spot values after all the spots have been detected, tracked etc. Indeed, when you manually modify or create a spot, its features are automatically recomputed. When this happens the same method is called but the iterable contains only the spots that have been modified instead of the whole time-point.
Since our feature value for one spot does not depend on any other spots, we can simplify our work further and derive our analyzer from a utility class that takes care of the multithreading part and only asks us to implement the feature computation logic for one spot. This utility class is the AbstractSpotFeatureAnalyzer. Thanks to it, body of the analyzer is very concise:
package plugin.trackmate.examples.spotanalyzer;

import fiji.plugin.trackmate.Spot;
import fiji.plugin.trackmate.features.spot.AbstractSpotFeatureAnalyzer;
import net.imglib2.type.numeric.RealType;

public class MeanStdIntensityRatioSpotAnalyzer< T extends RealType< T > > extends AbstractSpotFeatureAnalyzer< T >
{
	@Override
	public void process( final Spot spot )
	{
		// See below.
	}
}
// etc
All the computation logic has to go in the process(Spot) method.
There is no need to have a method to return the results of the computation, for spot objects can store their own feature values, thanks to the Spot.putFeature(feature, value) method.
Here is what the process() method of the mean/std analyzer looks like:
	@Override
	public void process( final Spot spot )
	{
		/*
		 * Get the feature values created by the other spot analyzer for the
		 * first channel only.
		 *
		 * These values will be null if the spot intensity analyzer has not been
		 * called before. This is controlled via the priority flag in the
		 * annotation of the factory,
		 *
		 * The channel number for feature keys are 1-based, so we need to add to
		 * the channel number we received in the constructor.
		 */
		final Double mean = spot.getFeature( "MEAN_INTENSITY_CH1" );
		final Double std = spot.getFeature( "STD_INTENSITY_CH1" );

		// Compute mean / std.
		final double ratio = mean.doubleValue() / std.doubleValue();

		// Store results.
		final String featureName = MeanStdIntensityRatioSpotAnalyzerFactory.MEAN_OVER_STD;
		spot.putFeature( featureName, Double.valueOf( ratio ) );

		// That's it!
	}
The code for the whole class is here.
Using SciJava priority to determine order of execution
Now it’s time to discuss the delicate subject of dependency.
As stated above, our new analyzer depends on some other features to compute. Therefore, the analyzers that calculate these other features need to run before our analyzer. Or else you will bet NullPointerExceptions randomly.
TrackMate does not offer a real in-depth module dependency management. It simply offers to determine the order of analyzer execution thanks to the SciJava plugin priority parameter.
For instance, if you check the annotation part of the spot analyzer factory, you can see that there is an extra parameter, priority:
@Plugin( type = SpotAnalyzerFactory.class, priority = -1. )
This priority parameter accepts a double as value and this value determines the order of execution. Careful, the rule is the opposite of what would make sense for a priority:
Feature analyzers are executed in order according to increasing priority. This means that analyzers with the greatest priority are executed first.
By convention, if your feature analyzer depends on the features calculated by N other analyzers, you take the lowest priority of these analyzers, and remove 1. In our case, we depend on the SpotIntensityAnalyzerFactory, which as a priority of 0 (the default if the parameter is unspecified). So quite logically, we set the priority of our analyzer to be -1. This ensures the proper execution order.
Wrapping up
Apart from the discussion on the priority and execution order, there is not much to say. It works!
Jean-Yves Tinevez 11 March 2014 - 23 July 2021