How to make a new tutorial
Contents
How to make a new tutorial
In Fiji, we have a plugin whose only purpose is to write tutorials to be published on the Wiki. This plugin was used to make this tutorial, so in a sense, the plugin was written to document its own usage.
First step: call the Tutorial Maker
After clicking on Plugins › Utilities › Fiji › New Fiji Tutorial, you will be asked for the title of your tutorial:
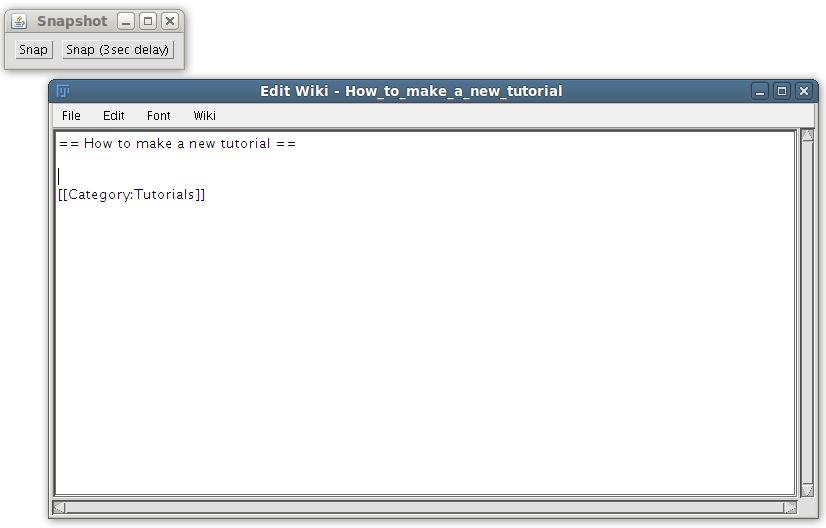
You will get two new windows: the Snapshot winow (which is set to be always on top) and the Editor window:
Second step: take snapshots
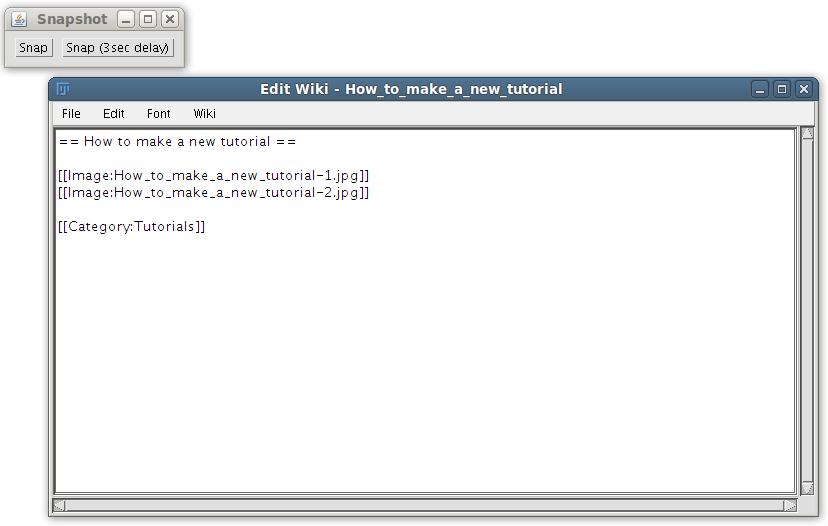
The Snapshot window supports two modes with two different delays:
- snap by click: immediate ("Snap") and delayed ("Snap (3sec delay)")
- snap by hover: hovering over the buttons will take a snapshot after 2 and 4 seconds, respectively.
To take snapshots of opened menus, the more convenient method is to snap by hover, but that does not work when there is an open modal dialog; in this case, you have to revert to snapshot by click.
To take snapshots of modal dialogs (which block events to the Snapshot window, including a hover), it is more convenient to click on "Snap (3sec delay)" and quickly open the modal dialog. See also the tip at the end.
In any of the two modes, the snapshot window will hide itself before taking the snapshot.
After taking some or all of the snapshots you want to include in your tutorial, you have to crop them. Just select the appropriate rectangle, and then click on ImageJ's Edit › Crop or hit ^ Ctrl+⇧ Shift+X:
You can also annotate the images at this stage, such as circling an important aspect of the snapshot in a bright color, or adding an arrow to shift the attention of the interested reader to a certain item.
If -- for whatever reason -- you want to crop (or process in another manner) the snapshots right after they are taken, you can click on the Wiki>Leave snapshots in the foreground menu item; after this, the snapshots will not be put in the background any more.
For aesthetic reasons -- and to avoid confusing yourself -- you might want to rename the snapshots. There are two options for that. The first is to call the Rename Image menu item in the Wiki menu of the Editor:
This will pop up another dialog which lets you change the name of the image:
The other method is to select the image and click on ImageJ's Image › Rename... menu item.
In both cases, the image references in the text will be adjusted automatically.
Third step: Add some helpful descriptions
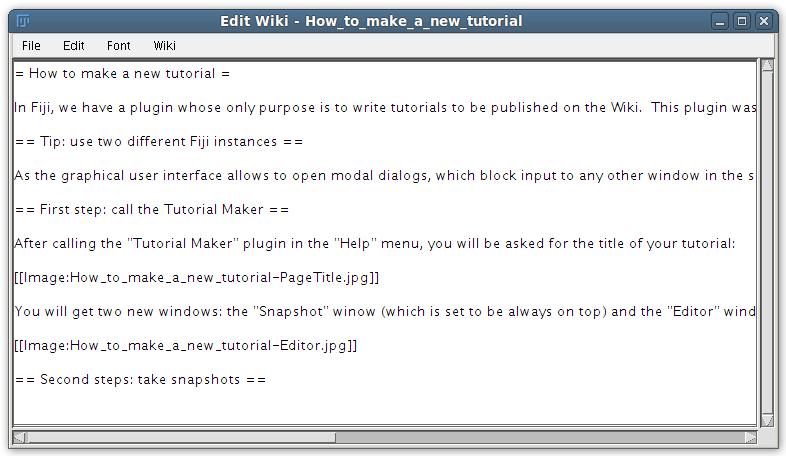
A picture says more than a thousand words, but to be sure that it actually says what you want to tell, add a bit of surrounding text to the snapshots:
Fourth step: preview
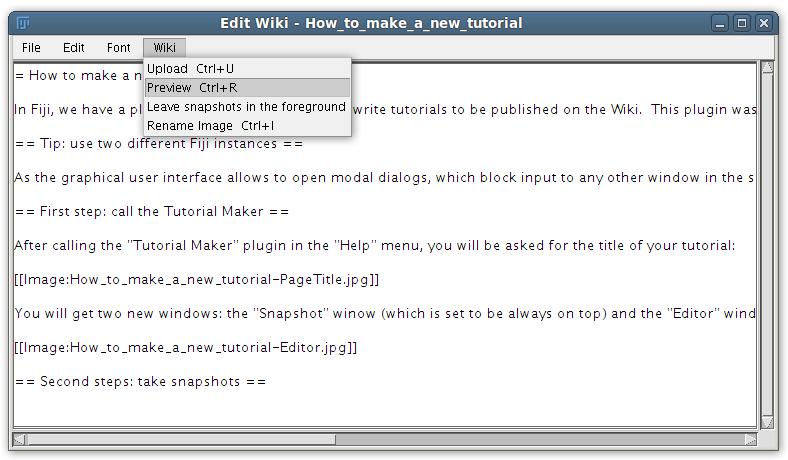
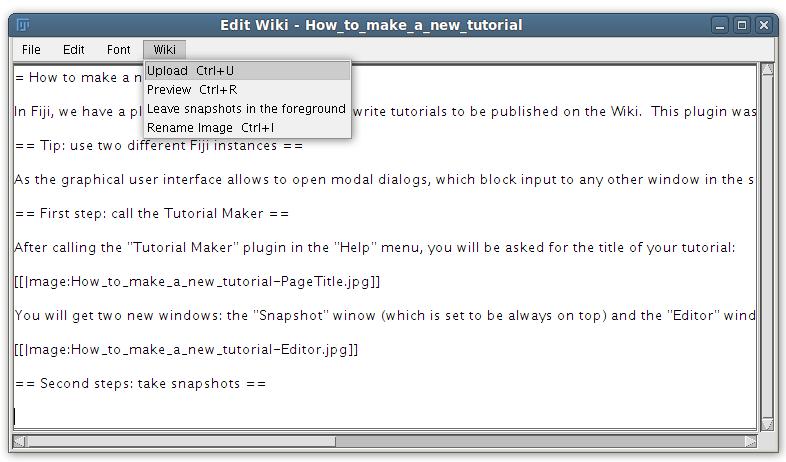
Now is the time to preview your work:
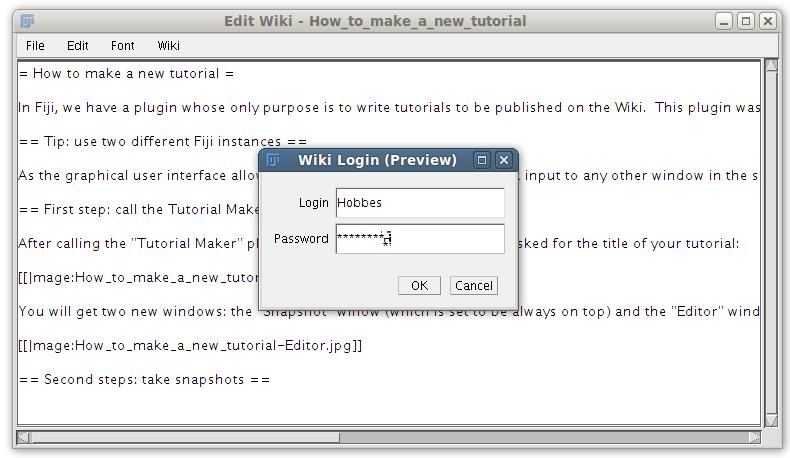
The first time you call Preview (or Upload, whichever comes first), you will be asked for your credentials:
This will not upload the images yet, but use the Wiki engine to render HTML from your text. The preview will be extracted from the result, and the image references adjusted to point to your local images. The preview will be opened in your default web browser.
Now is the time to proof-read. Fix whatever you do not like and make a new preview as often as you need to; nothing is stored in the Wiki so far.
Fifth step: upload
When everything is good to go, upload the tutorial:
This will upload all the images (asking you how to proceed when an image exists already in the Wiki) and upload the text. The final page will be opened in your default web browser, and the Snapshot and Editor windows will be closed.
Tip: use two different Fiji instances
As the graphical user interface allows to open modal dialogs which block input to any other window in the same application (including the Tutorial Maker windows), it is often wise to open a second Fiji instance in which you start the Tutorial Maker.
